
Views: 0 Author: Site Editor Publish Time: 2025-10-24 Origin: Site


Do you want to keep your boat in top condition throughout the winter? Shrink wrapping your boat can be a game-changer. This method creates a protective barrier against moisture, dirt, and UV damage, ensuring your vessel stays safe in harsh weather conditions.
In this guide, we will explore the essentials of boat shrink wrap, how to apply it, and the benefits it offers. By the end, you’ll know how to shrink wrap your boat like a pro, keeping it dry and protected.
Shrink wrapping your boat is a reliable way to protect it from harsh weather conditions, especially during the winter months. The process involves covering the boat with a specialized plastic film that shrinks tightly when heated, creating a protective barrier against moisture, dirt, snow, and UV damage. This method is preferred for boat storage, ensuring that your vessel stays in top condition during off-seasons.
Shrink wrapping your boat offers several key benefits:
Protection Against Moisture: Keeps water out, preventing rust and corrosion.
UV Damage Prevention: Protects your boat’s surfaces from fading and cracking.
Mold and Mildew Prevention: With proper ventilation, it helps maintain a dry environment.
Cost-Effective Storage: It’s cheaper than alternatives like storing your boat indoors or using a permanent cover.
When selecting shrink wrap for your boat, opt for marine-grade shrink wrap rather than general-purpose plastic wrap. Marine shrink wrap is specifically designed to withstand the demands of outdoor conditions, offering better durability and protection.
Thickness and Durability Considerations For most boats, 6-mil to 8-mil thick shrink wrap is ideal. Thicker materials offer more durability and are better at withstanding heavy snow or harsh winds, while thinner materials might suffice for smaller boats or calmer climates.
Before starting the shrink-wrapping process, gather the necessary tools:
Shrink Wrap (6-8 mil thickness)
Heat Gun or Propane Torch
Polyester Straps for support structure
Support Posts to keep the wrap taut
Shrink Wrap Tape for sealing
Vents for ventilation
Zipper Door (optional)
These tools and supplies can be purchased in shrink wrap kits from marine supply stores or online retailers.
Where to Purchase Shrink Wrap Kits Shrink wrap kits can be found at local marine supply stores or online platforms such as Amazon, Boat Outfitters, and Dr. Shrink.
Clean and Empty the Boat
Before applying the shrink wrap, thoroughly clean your boat. Remove any debris, dirt, or moisture that could affect the integrity of the wrap. Ensure that the boat is dry, as moisture trapped inside could lead to mold or mildew during storage.
Winterization Steps
Proper winterization is crucial for your boat’s health. This includes:
Draining fuel lines
Disconnecting the battery
Sealing fuel vents
Disconnecting any electronics
These steps ensure that no moisture or harmful residues are trapped inside the boat.
Install Support Posts
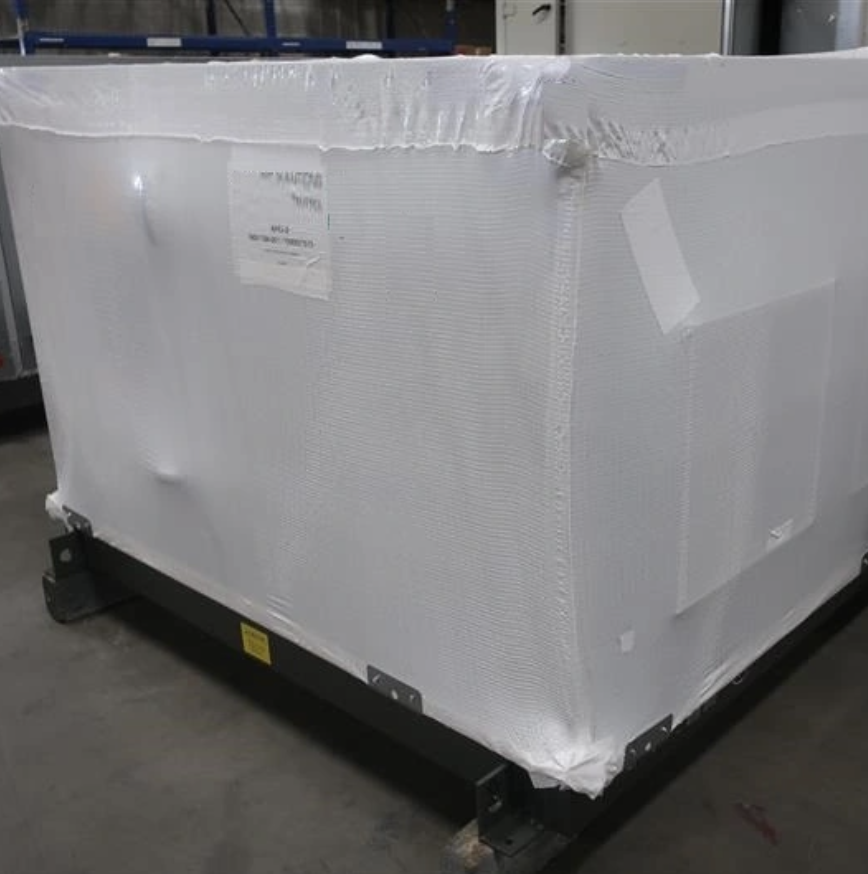
To support the shrink wrap, install support posts around the boat. These posts need to be slightly taller than the highest point of the boat, ensuring that the shrink wrap has room to shrink without touching the boat’s surfaces. Secure these posts using polyester straps to form the base of the structure.
Strategic Placement for Stability
Properly place the posts to distribute weight evenly. For boats over 25 feet, additional posts should be installed every 8 feet for optimal stability.
Measure the Right Amount of Shrink Wrap
To calculate the amount of shrink wrap you need, measure the boat's length and width, then add a couple of feet to account for overlaps at the edges. Cut the wrap according to the boat’s size, ensuring it’s long enough to cover the entire boat and tuck underneath the support straps.
Drape and Secure the Wrap
Once the wrap is cut, drape it over the boat, ensuring it covers the top and sides evenly. Secure the bottom of the wrap with shrink wrap tape to create a seal that keeps moisture out. Be sure to remove any wrinkles for a smooth, tight fit.
Using a Heat Gun Safely
Start by using a heat gun to shrink the plastic. Move the heat gun back and forth evenly across the surface of the wrap, making sure it doesn’t stay too long in one spot to avoid burning holes. Always keep the heat gun about 12 inches away from the wrap.
Tips for Even Shrinking
It’s important to apply heat evenly, from top to bottom, to ensure that the shrink wrap shrinks uniformly. Avoid overheating, as this can weaken the wrap and cause damage to the boat’s surface.
Preventing Mold and Mildew
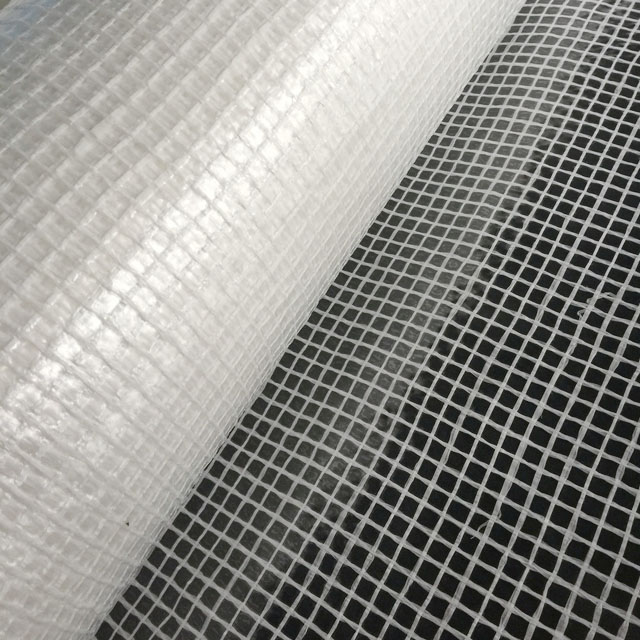
Ventilation is crucial to prevent moisture buildup under the shrink wrap. Shrink wrap vents allow air to circulate, preventing mold or mildew from forming inside the boat during storage. Place vents at least 6 feet apart, particularly near the boat’s lowest points, to encourage airflow.
Proper Vent Placement
Install vents in areas where moisture is most likely to accumulate, such as under the deck and near fuel vents. Be sure the vents are secured tightly to maintain a proper seal.
Cutting and Securing the Zipper
If you need easy access to your boat during the winter, install a zipper door. First, cut a small hole in the shrink wrap, then attach the zipper around the cut. This door allows you to access the boat without completely removing the wrap.
| Step | Action | Required Tools | Benefit |
|---|---|---|---|
| 1. Preparation | Clean and check the boat for moisture and debris. | Cleaning supplies, foam pads, towel | Ensures a dry, clean surface for optimal shrink wrapping. |
| 2. Setting Up the Frame | Install posts and create a sturdy frame to support the wrap. | Support posts, polyester straps | Provides a stable structure for even shrink wrap tension. |
| 3. Applying the Shrink Wrap | Drape shrink wrap over the boat, ensuring complete coverage. | Shrink wrap, tape | Protects the boat from weather, dirt, and UV damage. |
| 4. Shrinking the Wrap | Use a heat gun to shrink the wrap tightly around the boat. | Heat gun, gloves | Forms a tight, secure seal to prevent moisture entry. |
| 5. Adding Ventilation | Install vents to allow airflow and avoid mold formation. | Shrink wrap vents, tape | Prevents moisture buildup and ensures airflow. |
| 6. Zipper Door Installation | Install a zipper door for convenient access to the boat. | Zipper door, shrink wrap tape | Provides easy access without removing the entire wrap. |
| 7. Final Tightening | Tighten and secure any loose areas, ensuring a watertight seal. | Strap tensioning tool, shrink wrap tape | Ensures maximum protection and a secure fit. |
Why the Frame is Essential
The most important aspect of shrink wrapping is creating a sturdy frame. Without it, the shrink wrap may sag, creating gaps where moisture can get in. Always ensure the support posts are tall enough to provide proper tension for the wrap.
Risks of Too Much Heat
Overheating the shrink wrap can cause it to tear or become too tight, potentially damaging both the wrap and your boat. Apply heat gradually, ensuring that you do not over-stretch or burn the material.
What to Check During Storage
While the boat is in storage, inspect the shrink wrap regularly for any signs of wear or tear. If the wrap becomes loose, tighten it to maintain its protective seal. You may need to adjust it after heavy snow or rain.
Safely Removing the Shrink Wrap
When spring arrives and it’s time to remove the shrink wrap, use a shrink film knife to carefully cut through the material. Avoid cutting too deeply, as this could damage the boat. After removal, be sure to dispose of the shrink wrap responsibly.
Shrink wrapping your boat is an effective and cost-efficient way to protect it from harsh weather. By following the proper steps, you can ensure your boat remains dry, safe, and ready for use when the season changes. If you're looking for quality shrink wrap, Ecopack offers reinforced shrink wrap solutions that ensure durability and protection. Their products provide value by offering long-lasting coverage, making it easier to maintain your boat during off-seasons.
A: Boat shrink wrap is a durable plastic film used to protect boats from weather elements. It shrinks tightly around the boat when heat is applied, forming a watertight seal.
A: First, create a support structure with posts and straps. Then, drape the shrink wrap over the boat, heat it with a heat gun, and secure it tightly for maximum protection.
A: Boat shrink wrap provides excellent protection against moisture, dirt, snow, and UV damage, ensuring your boat stays safe and dry during storage.
A: Yes, with the right tools and preparation, you can shrink wrap your boat. However, if you're unsure, it's best to consult a professional for the best results.


